
Step 01
Plan the exchange before choosing a file.
Start by identifying what the source represents and what must be delivered. Editable design strings belong in a PIDB and its layers. Triangulations are separate surfaces or solids. Point clouds, block models, and GeoTIFF rasters also appear in their own Explorer branches.
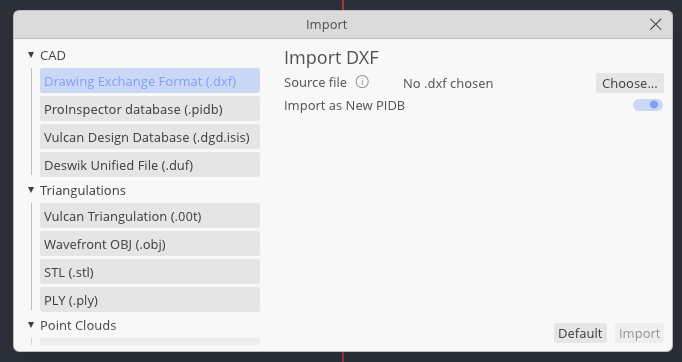
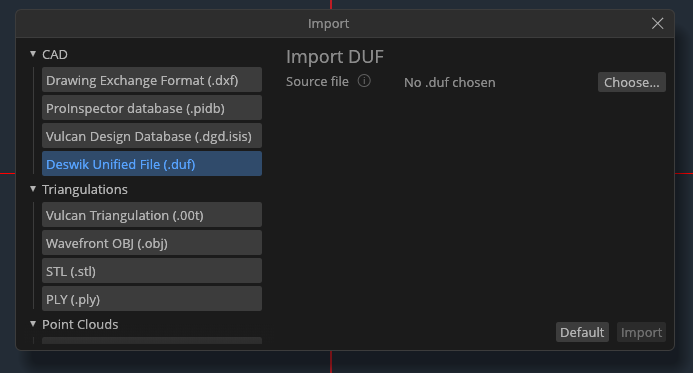
Incline’s Import dialog currently accepts CAD sources including DXF, PIDB, Vulcan .dgd.isis, and Deswik .duf; triangulations in .00t, OBJ, STL, and PLY; LAS/LAZ, XYZ/PTS, and PCD point clouds; Vulcan block models; and GeoTIFF rasters. Export is narrower: PIDB and DXF for design data, plus .00t, OBJ, STL, and PLY for triangulations.
Step 02
Choose both the source and its destination.
Open File → Import…, select the format on the left, then choose the source file. For DXF, the Import as New PIDB switch is an important boundary. Leave it enabled when the DXF should arrive as a self-contained project. Turn it off only when its layers deliberately belong in the active PIDB.
PIDB imports add another project to the browser workspace.Triangulation, point-cloud, block-model, and raster imports populate their matching Explorer branches.
Step 03
Import a reference surface.
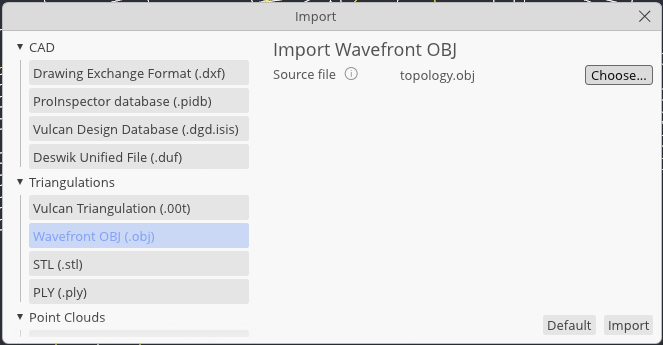
To practise with a topology, select Wavefront OBJ (.obj), choose the source, confirm the filename shown beside Source file, and choose Import. Incline adds the mesh under Triangulations. The same sequence applies to a Vulcan .00t, STL, or PLY surface.
Large files can take a moment to parse and upload to the graphics device. Watch the status line and avoid clicking Import twice. When the dialog closes, expand the Triangulations branch to verify the new entry exists, then choose Zoom to extents from the right toolbar.
Step 04
Inspect geometry, coverage, and structure.
First review the overall coverage. If a remote layer makes the important area tiny, unload that remote layer and select the Reset View tool in the right toolbar.
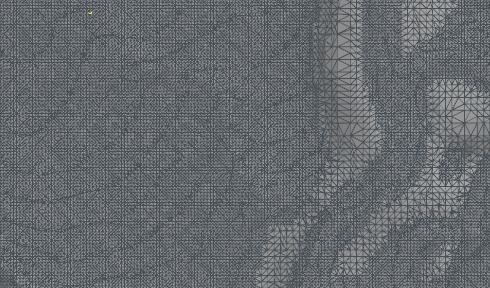
To view the edges of triangulations, choose View → Enable Wireframes. This makes it easier to inspect abnormal geometry and to use the snap-to-line tool. Turn wireframes off again for normal design work; a dense topology can obscure strings and cost rendering time.
Step 05
Exporting designs and triangulations.
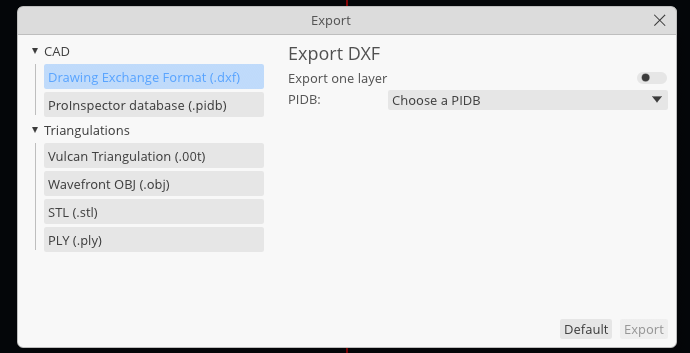
Open File → Export…. For DXF, enable Export one layer when the recipient needs a single design package, then choose the source PIDB and layer. Leave the switch off only when the full PIDB should become one DXF. Roads do not have a native DXF road object, so they are converted to design polylines during that exchange.
Choose ProInspector database (.pidb) when another Incline user needs the editable project structure or when you need a portable browser backup. For a triangulation, choose the loaded surface and the required .00t, OBJ, STL, or PLY format.
File → Export Viewport Image… serves a different purpose: it creates a scene image for a report or review. It is not an exchange format and cannot be re-imported as editable geometry.
Next guideNavigate the workspace and control the view →