
Step 01
Understand the project hierarchy.
As previously mentioned, a PIDB is Incline’s editable project database. It stores your design strings under layers. A triangulation is different: it is a separate surface or solid file shown in the Triangulations branch of the Explorer.
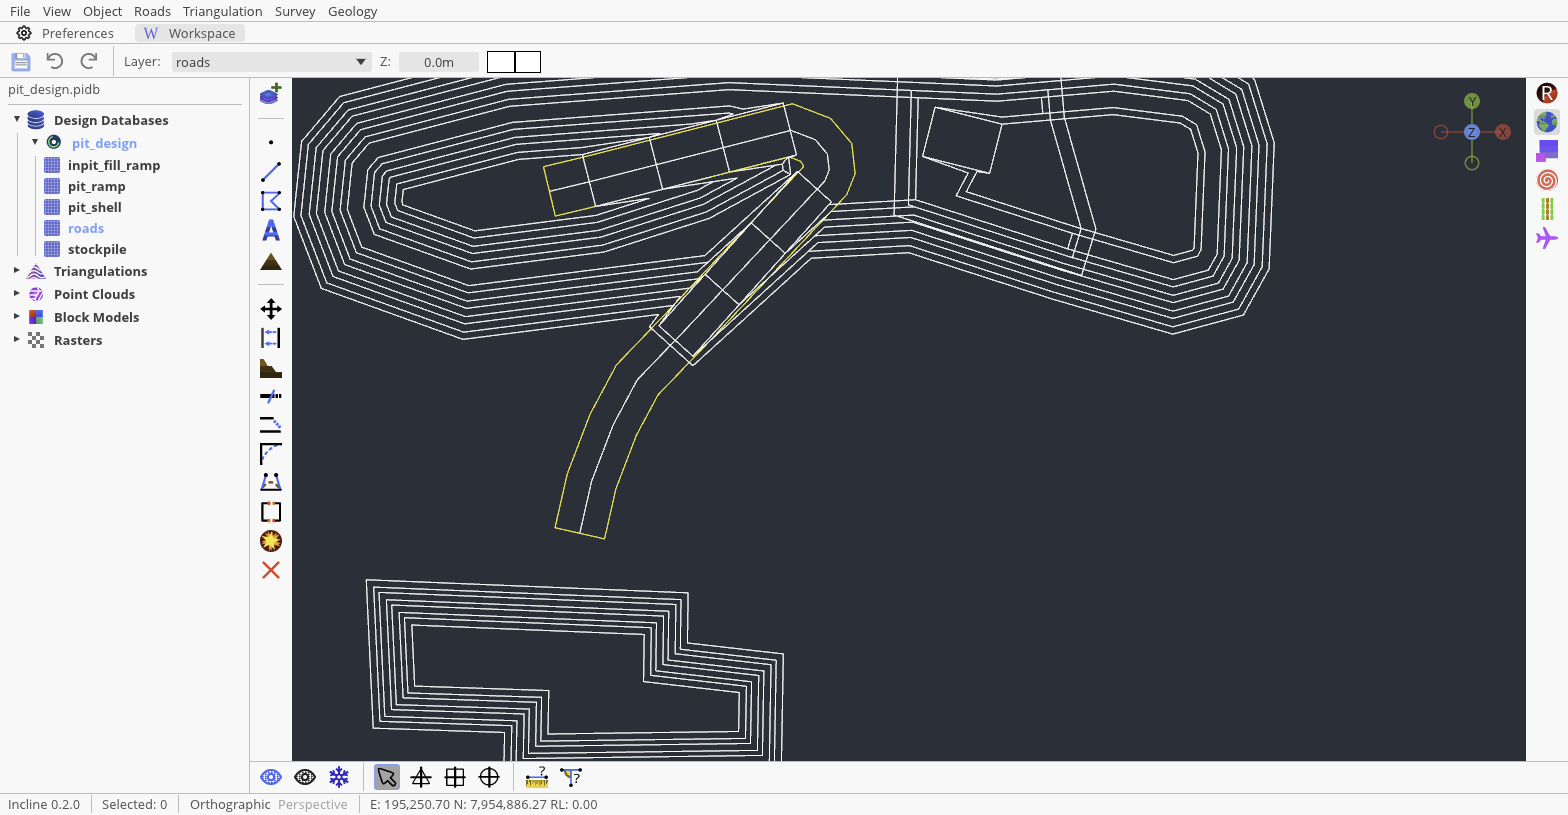
One workspace can hold many PIDBs. That is useful when, for example, a pit design, a road design, and a surveyed services map need to be visible together. Only one PIDB and one of its loaded layers should be treated as the active editing destination. Before starting a tool, make a habit of reading both the active PIDB name above the Explorer and the Layer selector in the top toolbar.
You will be able to open a structured project, load a useful subset of its layers, choose the editing destination, and make a browser-safe backup without changing the geometry.
Step 02
Activate the PIDB you intend to edit.
Open an exisiting project with File → Open PIDBs…, the welcome panel’s Load PIDB action, or File → Import… → ProInspector database (.pidb).
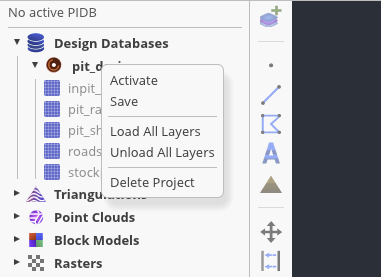
If several PIDBs are open, right-click a project name and choose Activate. The active project is highlighted blue in the Explorer and supplies the layers listed in the top toolbar. Double-clicking a project heading also activates it.
The same project menu provides Save, Load All Layers, and Unload All Layers. In Incline Web, the option Delete Project completely deletes that browser copy. In Incline Native, the option Close Project removes the project from the explorer, but does not delete it
Step 03
Load only the layers needed for the task.
PIDB layers can be loaded and unloaded. Loaded layer names appear in bold text; unloaded layers are muted. Double-click a layer to switch its loaded state, or right-click it and choose Load or Unload. Unloading is non-destructive: it removes the layer from the working scene but does not delete it from the project.
Use Load All Layers when first reviewing a small handover. For a large project, start with the minimum useful set—perhaps pit_shell and roads—then add context as required. Fewer loaded objects make selection clearer and reduce the amount of geometry the browser has to draw.
After changing the loaded set, choose Zoom to extents on the right toolbar. The view is recalculated from currently loaded data, so an isolated stockpile or remote survey layer will no longer make the main design appear tiny.
Step 04
Choose an active layer before drawing.
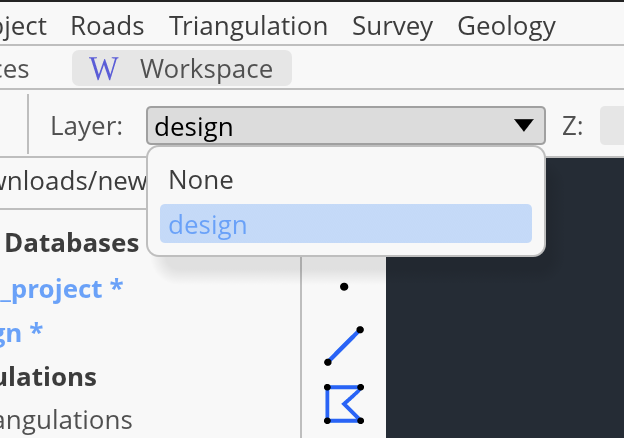
Open the Layer selector in the top toolbar and choose a loaded layer from the active PIDB. That choice controls where the next point, line, polygon, text label, or road will be stored. If the selector reads None, drawing tools remain unavailable.
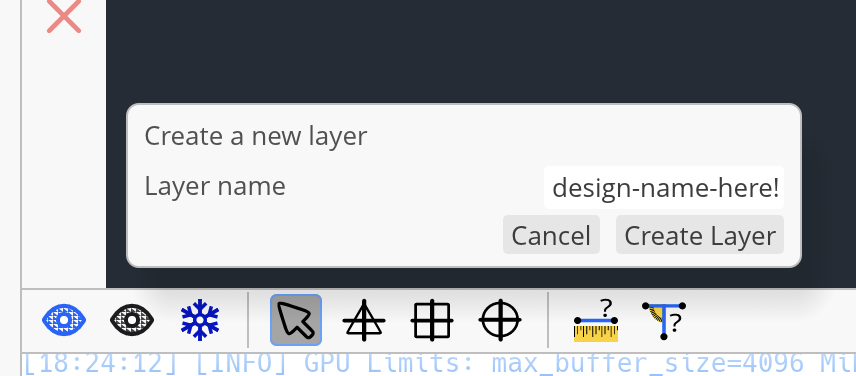
Use names that describe purpose rather than appearance: pit_crest, haul_roads, survey_marks, or labels are easier to audit than layer_1. Select New layer at the top of the left toolbar when a task needs a separate container, enter the name, and confirm Create Layer. Make sure this new layer is the working layer in the top toolbar.
Step 05
Maintain the structure without losing intent.
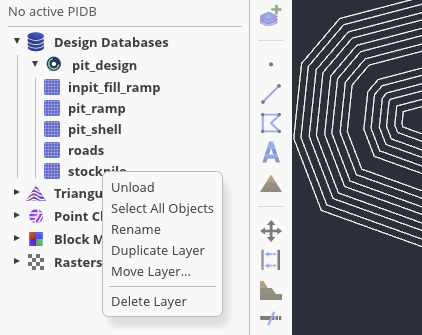
Right-click a layer to view its context menu. Select All Objects is useful before a property change or a move. Rename changes the layers label. Duplicate Layer creates a copy.
Move Layer… transfers the layer to another open PIDB. Delete Layer is the destructive option; Incline asks for confirmation before deleting.
Keep labels, roads, boundaries, and temporary construction geometry separate. This makes it easier to manage your larger designs.
Next guideImport, inspect, and export design data →